A few weeks ago I spent my mornings at the home of a church member learning how to make Turkana baskets. She is a good teacher and I know that she makes quality baskets. I think that's why she assisted me more than I wanted. By the time I came back on the second day she had almost finished the basket. I was able to learn how to finish the edge of that basket and start the lid. Then I actually did the starts on 2 more baskets, so I could practice. I am working on the second of those starts for a basket that is actually mine. I hope to have a small basket done by the time I come home... or at least a trivet... or coaster!
I have also posted a video that my language helper did while we were working. Click here to view it.
 |
| Leaves dried and ready to be used |
 |
| Beginning the basket |
 |
| Taking shape |
 |
| Learning the pattern of wrapping the leaf strip |
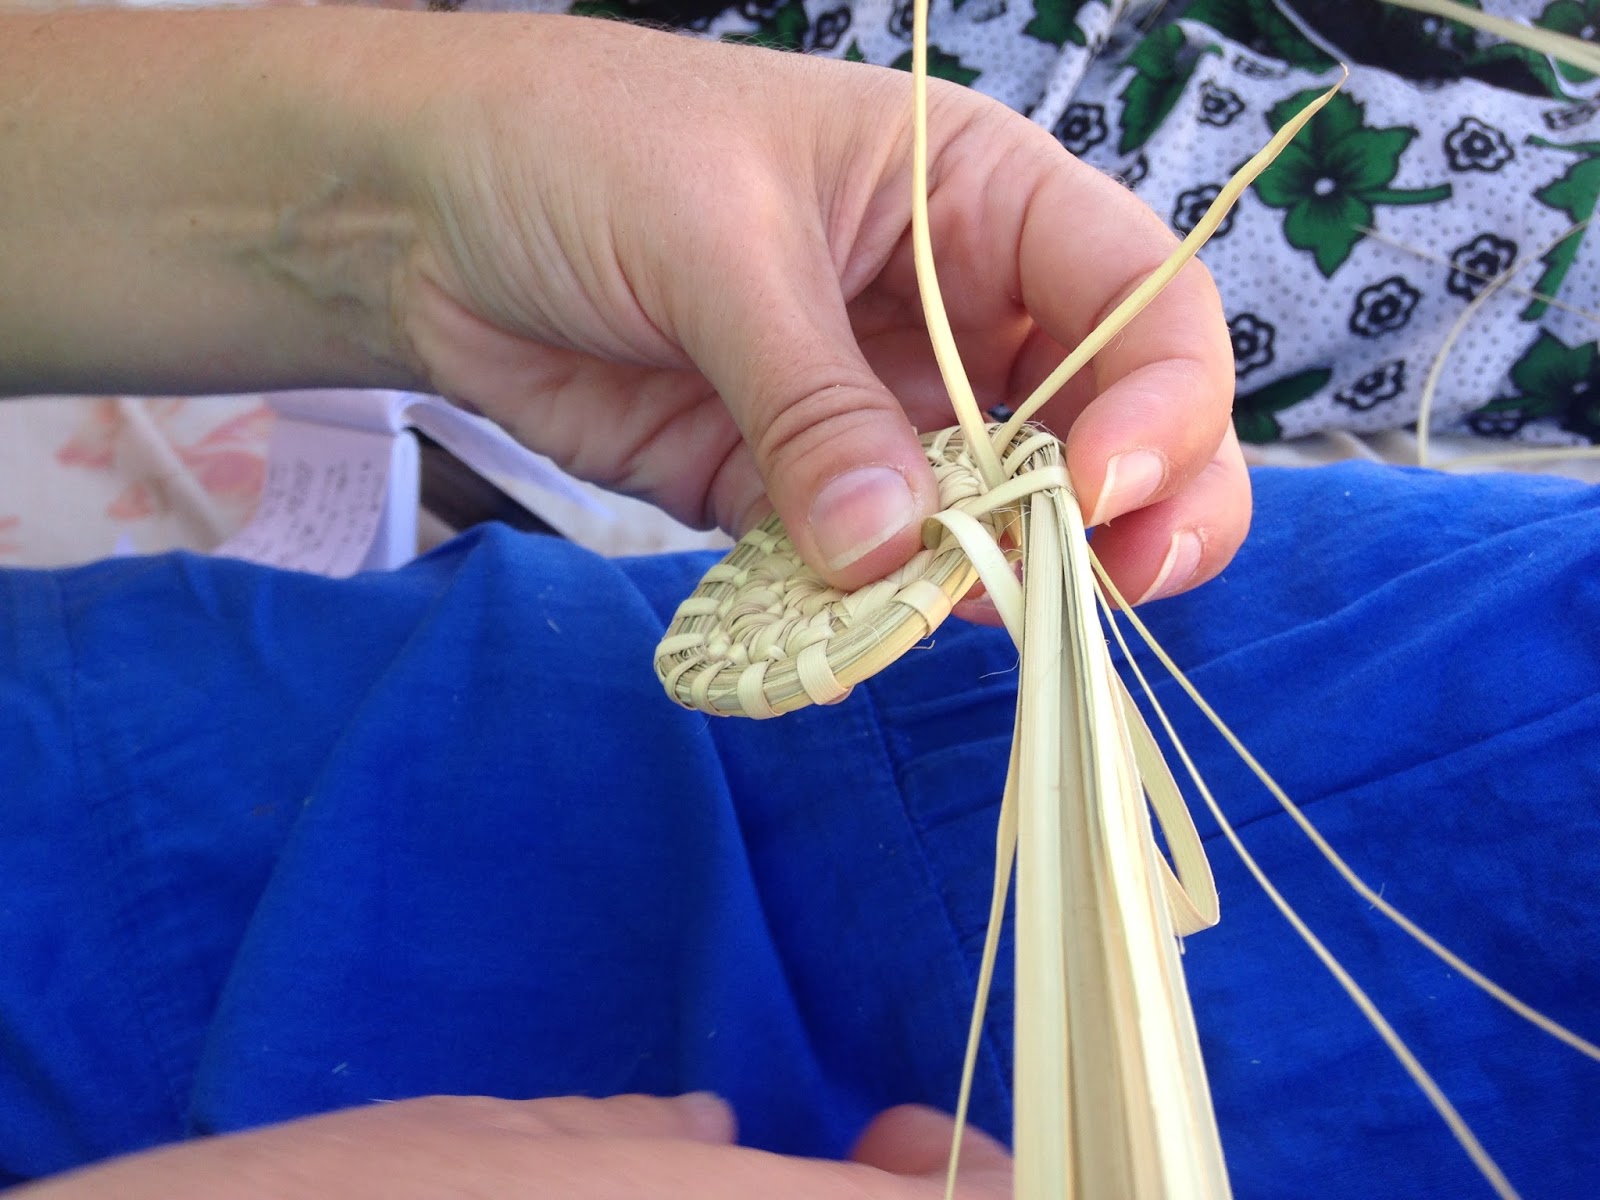 |
| It is like making a figure 8 knot around the rows of leaves |
 |
| Margaret my teacher |
 |
| She had to keep telling me to keep it very tight |
 |
| Margaret's neighbor making beads |
 |
| End of day 1 ready for the side |
 |
| Day 2 and my basket is almost done when I came back. |
 |
| At least I got to learn to finish the top edge |
 |
| Cutting the strips |
 |
| One more time around |
 |
| Almost done |
 |
| Making it look pretty by removing stray pieces |
 |
| Starting the lid |
 |
| Lid taking shape |
 |
| The kids enjoyed watching and helped translate |
 |
| Finished lid |
 |
| Large enough for my supplies, but Margaret said it should be my "sadaka" (offering) basket |
 |
| My first basket start. I took it home with me, so Margaret wouldn't finish it before I came back the next day. |
 |
| My start with Margarets basket |
 |
| Ali wanted to help |
 |
| The moving leaves were too tempting for her |
 |
| My second start |
 |
| This one is better and will be my basket |
 |
| Palms in our yard that I will use |
 |
| Sometimes it is fun to whack things with my "panga" (machete)! |
 |
| I was warned to take the thorns off, but they got me before I had a chance. Small, but ouch! |
 |
| Separating the strips and ready to use |
Very impressed! You did a great job!
ReplyDelete